samsung dv40j3000ew/a2 repair manual
Samsung DV40J3000EW/A2 Repair Manual: Overview
This manual details repair procedures for the Samsung DV40J3000EW/A2 dryer, covering model variations like DV400EWHDWR/AA and the newer DV3000J project series.
Access to service manuals, user guides (DC68-03170N-13_IB_DV3000J_EN.pdf), and parts diagrams are crucial for effective troubleshooting and maintenance.
Model Identification and Variations
The core model, DV40J3000EW/A2, is part of the DV3000J dryer project. Variations include DV40J3000EW, DV40J3000GW, and their /A2 counterparts. Earlier models, like DV400EWHDWR/AA and DV400GWHDWR/AA, fall under the “Hudson Dryer Project” designation.
Identifying the specific model code is vital for sourcing correct parts and accessing the appropriate service documentation. These codes are typically found on the appliance’s data plate, ensuring accurate repairs and compatibility with replacement components.
Locating Service Manuals and Documentation
Comprehensive repair information for the DV40J3000EW/A2 is available through several online resources. The Appliantology forum hosts training and service manuals, including BASIC and NEW model versions. Samsung’s official support website provides user manuals, such as DC68-03170N-13_IB_DV3000J_EN.pdf.
Accessing these documents is crucial for understanding disassembly procedures, troubleshooting error codes, and identifying replacement parts for effective appliance repair.
Safety Precautions
Always disconnect power before servicing the DV40J3000EW/A2. Electrical safety is paramount; follow general guidelines to prevent shock and ensure a safe repair process.
General Safety Guidelines
Prioritize personal safety when repairing the Samsung DV40J3000EW/A2 dryer. Wear appropriate safety glasses and gloves to protect against injury from components or sharp edges.
Ensure a well-lit and ventilated workspace. Avoid working on the appliance if you are fatigued or under the influence of any substances. Proper tools are essential; use only those designed for appliance repair.
Never bypass safety devices. Always double-check connections before restoring power, and be aware of potential hazards associated with moving parts.
Electrical Safety
Disconnect the Samsung DV40J3000EW/A2 dryer from the power supply before commencing any repair work. Verify the power is off using a reliable voltage tester. Electrical shock is a serious hazard, and caution is paramount.
Never work on live circuits. Inspect all wiring for damage before re-energizing the appliance. Ensure proper grounding to prevent electrical faults and potential fires.
If unsure about any electrical aspect, consult a qualified electrician; do not attempt repairs beyond your skill level.
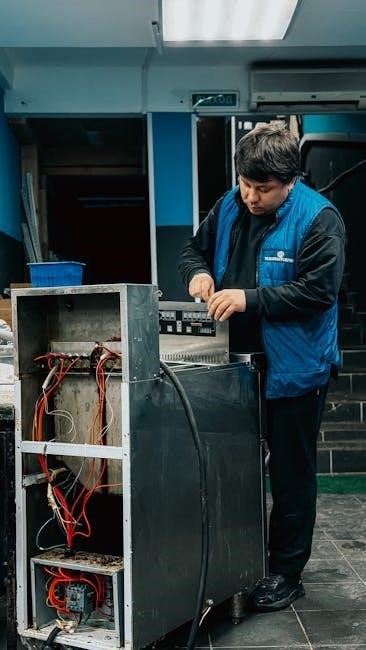
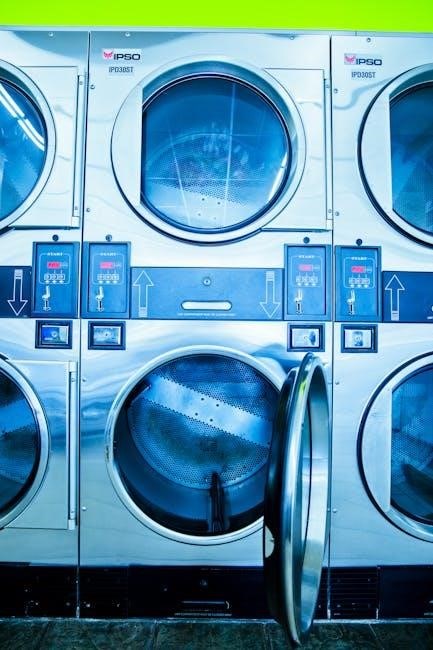
Disassembly Procedures
Carefully remove exterior panels to access internal components of the Samsung DV40J3000EW/A2. Document screw locations and wiring connections during disassembly for reassembly ease.
Accessing Internal Components
Begin by disconnecting power and removing the lint filter assembly. Detach the top panel by releasing the retaining clips, typically located at the rear. Next, remove the rear access panel to expose the blower wheel and exhaust duct. Carefully disconnect wiring harnesses connected to components before removal.
The front panel requires releasing clips or screws from the control panel area. Be mindful of ribbon cables connecting the display and control board. Document each step with photos to aid reassembly, ensuring a smooth repair process for the DV40J3000EW/A2.
Removing the Control Panel
First, disconnect power to the dryer. Locate and remove the screws securing the control panel to the dryer chassis, often hidden beneath trim pieces. Gently pry the panel upwards, releasing the retaining clips along the sides and top. Disconnect the ribbon cables connecting the panel to the main control board.
Be extremely careful with these delicate connectors. Label each cable before disconnecting to ensure correct reassembly. Note the position of any grounding wires. Proper removal avoids damage and simplifies future repairs on the Samsung DV40J3000EW/A2.
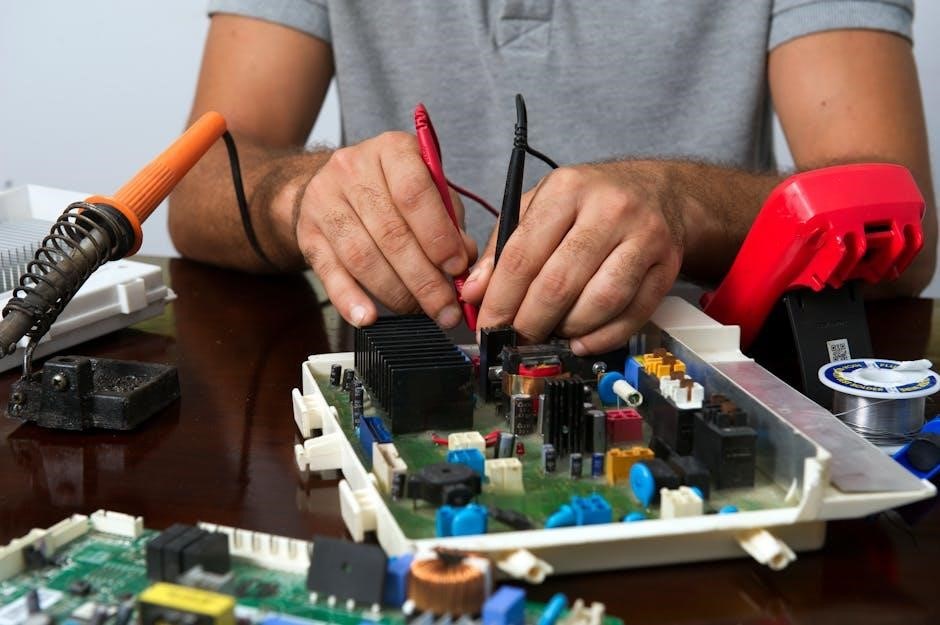
Component Troubleshooting
Effective diagnosis requires testing the heating element, moisture sensor, and drive motor/belt. Verify functionality with a multimeter, checking for continuity and proper resistance values.
Heating Element Diagnosis
Begin by visually inspecting the heating element for breaks or damage. Utilize a multimeter to perform a continuity test across the element’s terminals; a lack of continuity indicates failure.
Check the voltage reaching the element during operation. If voltage is present but the element doesn’t heat, it’s likely defective and requires replacement. Always disconnect power before handling!
Confirm the thermal fuse is intact, as a blown fuse will prevent the heating element from receiving power. A faulty thermal fuse must also be replaced.
Moisture Sensor Malfunctions
Inaccurate moisture sensing often results in excessively long or short drying cycles. Begin by cleaning the sensor bars located inside the dryer drum with rubbing alcohol to remove any residue buildup.
Test the sensor’s resistance using a multimeter; values outside the specified range indicate a faulty sensor needing replacement. Ensure proper grounding of the sensor assembly.
Inspect the wiring harness connecting to the sensor for any damage or loose connections that could disrupt signal transmission to the control board.
Motor and Belt Inspection
A failing motor presents as a lack of drum rotation or unusual noises during operation. Check the motor windings for continuity using a multimeter, and inspect the motor brushes for excessive wear.
The drive belt should be inspected for cracks, fraying, or breakage. A loose or damaged belt will cause the drum to not tumble correctly.
Ensure proper belt tension after replacement, and verify the motor’s mounting hardware is secure to prevent vibrations and further damage.
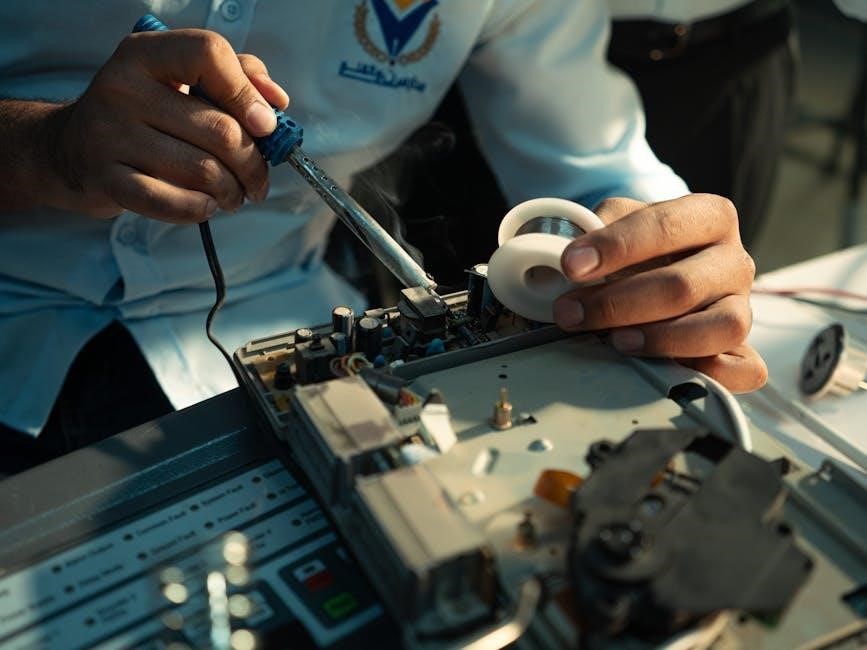
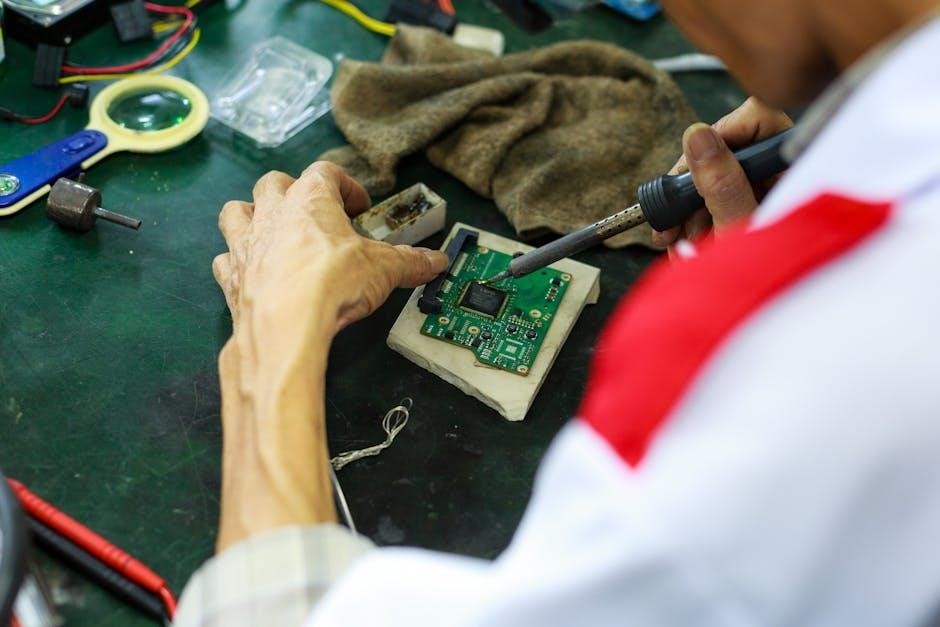
Control Board Issues
The control board manages dryer functions; problems manifest as unresponsive controls or error codes. Replacement requires careful identification and matching of the correct board version.
Identifying Control Board Problems
Diagnosing control board issues begins with observing dryer behavior. Look for a complete lack of response to button presses, erratic operation, or persistent error codes displayed on the panel. Utilize a multimeter to check for voltage at key test points, verifying power delivery to the board itself.
Inspect the board visually for burnt components, swollen capacitors, or damaged traces. A thorough examination can reveal physical signs of failure. Consider the error codes; specific codes often pinpoint the affected circuit on the control board, aiding in targeted troubleshooting.
Control Board Replacement
Before replacing the control board, disconnect power completely! Carefully document the wiring connections – photos are highly recommended – to ensure correct reassembly. Remove the old board, noting any mounting screws or brackets;
Install the new control board, meticulously reconnecting all wires according to your documentation. Double-check all connections before restoring power. Run a test cycle to verify proper operation and confirm that all functions are restored, observing for any new error codes.

Common Error Codes
Decoding error messages is vital for diagnosis. These codes pinpoint specific malfunctions within the Samsung DV40J3000EW/A2 dryer, guiding repair efforts efficiently.
Resolution involves addressing the root cause indicated by each code, often requiring component testing or replacement.
Decoding Error Messages
Samsung DV40J3000EW/A2 dryers utilize error codes to communicate internal issues. These alphanumeric codes, displayed on the control panel, represent specific component failures or operational problems.
Understanding these codes is paramount for efficient troubleshooting. For example, a specific code might indicate a faulty heating element, a blocked vent, or a sensor malfunction. Referencing the service manual is essential to accurately interpret each code and its corresponding diagnostic steps.
Proper decoding prevents unnecessary part replacements and streamlines the repair process, saving both time and resources.
Error Code Resolution
Once an error code is identified on the Samsung DV40J3000EW/A2 dryer, a systematic resolution process should begin. The service manual provides detailed steps for each code, often starting with simple checks like verifying power supply and lint filter cleanliness.
More complex codes may require component testing using a multimeter to assess continuity or voltage. Replacing faulty parts, such as heating elements or sensors, is often necessary. Always disconnect power before any repair work.
Post-repair, run a test cycle to confirm the error is resolved and the dryer functions correctly.
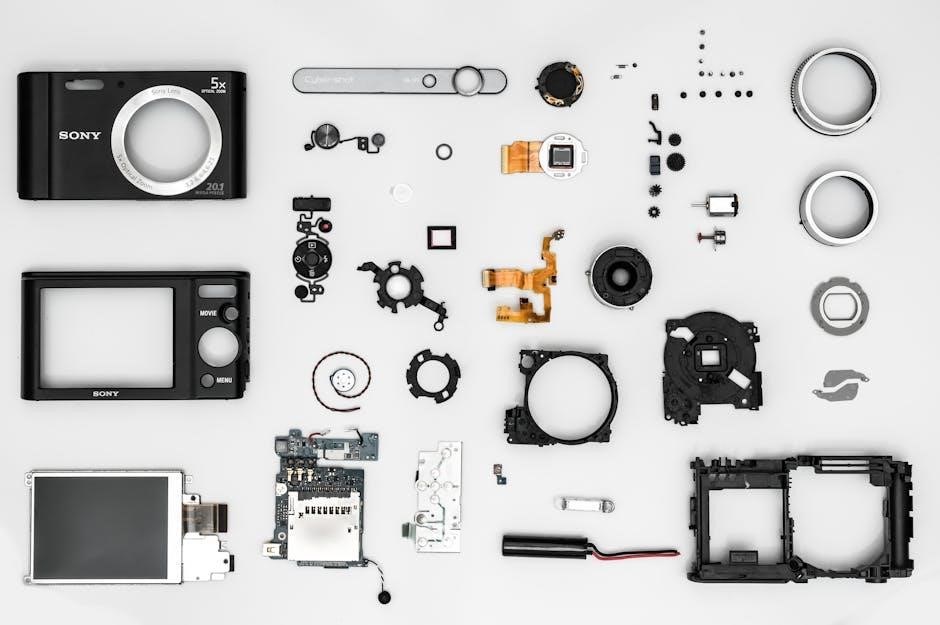
Parts List and Diagrams
Detailed parts lists are essential for sourcing replacements, including components for the DV40J3000EW/A2 and related models (DV400EWHDWR/AA). Exploded view diagrams aid in proper assembly.
Identifying Replacement Parts
Accurate part identification is critical when repairing the Samsung DV40J3000EW/A2 dryer. Utilize the model code (DV40J3000EW/A2, DV400EWHDWR/AA, etc.) to ensure compatibility. Refer to exploded view diagrams and parts lists to locate the correct component.
Samsung’s parts system requires precise matching; incorrect parts can cause further malfunctions. Cross-reference part numbers with reliable suppliers and verify specifications before ordering. Prioritize genuine Samsung parts for optimal performance and longevity.
Exploded View Diagrams
Exploded view diagrams are essential for visualizing the Samsung DV40J3000EW/A2’s assembly. These diagrams illustrate how each component relates to others, simplifying disassembly and reassembly processes. They clearly depict the order of parts, screws, and connections.
Locate diagrams specific to your model code (DV40J3000EW/A2, DV400EWHDWR/AA). Use them in conjunction with the parts list to identify components and understand their placement within the dryer’s structure, aiding in efficient repairs.
Wiring Diagrams
Detailed electrical schematics are vital for diagnosing electrical issues. Understanding circuit paths within the Samsung DV40J3000EW/A2 is key for safe and effective repair work.
Understanding Electrical Schematics
Successfully navigating the Samsung DV40J3000EW/A2’s electrical system requires a firm grasp of schematic reading. These diagrams illustrate component connections, voltage pathways, and grounding points.
Symbols represent specific parts – resistors, capacitors, motors – and lines indicate wiring. Trace circuits carefully to pinpoint faults; a multimeter is essential for verifying continuity and voltage levels.
Pay close attention to color coding and wire gauge specifications. Incorrectly interpreting the schematics can lead to misdiagnosis and potential damage to the dryer’s components.
Tracing Circuit Paths
Effective troubleshooting of the Samsung DV40J3000EW/A2 demands meticulous circuit path tracing. Begin at the power source and follow the wiring diagrams to the affected component.
Utilize a multimeter to confirm continuity along the path, identifying breaks or shorts. Isolate sections by disconnecting connectors and retesting to narrow down the fault’s location.
Remember to account for all switches, sensors, and the control board’s relays. A systematic approach, combined with accurate schematics, is key to efficient repair.
Testing Procedures
Rigorous testing is vital for accurate diagnosis. Employ a multimeter for voltage and continuity checks, verifying component functionality before replacement.
Confirm sensor readings and motor operation to pinpoint the source of the dryer’s malfunction.
Multimeter Usage
A digital multimeter is essential for diagnosing electrical faults within the Samsung DV40J3000EW/A2 dryer. Begin by selecting the appropriate voltage setting (AC or DC) to test power supply lines and component voltages.
Utilize the continuity function to verify wiring connections and the integrity of heating elements and sensors. Always disconnect power before testing for continuity. Measure resistance to assess component health, comparing readings to specifications when available.
Exercise caution and follow proper safety procedures when working with electrical circuits.
Continuity Testing
Continuity testing verifies electrical pathways within the Samsung DV40J3000EW/A2 dryer’s components. Disconnect all power before initiating tests; safety is paramount. Use the multimeter’s continuity setting – a beep indicates a complete circuit.
Test wiring harnesses, heating element coils, and sensor connections for breaks or high resistance. A lack of continuity signifies a faulty component or broken wire. Ensure secure connections before concluding a component is defective.
Proper testing isolates issues efficiently.
Preventative Maintenance
Regular lint filter cleaning and vent clearing are vital for optimal performance and safety of the Samsung DV40J3000EW/A2 dryer, preventing fire hazards.
Lint Filter Cleaning
The lint filter, located inside the dryer drum, requires cleaning after each load to maintain efficient airflow and prevent overheating. A clogged filter drastically reduces drying performance and poses a significant fire risk.
Remove the filter by lifting it upwards and gently brush away accumulated lint using your fingers or a soft brush. Ensure the filter is completely clean and dry before reinstalling it. Inspect the filter housing for any residual lint buildup and remove as needed.
Vent Cleaning
Regular vent cleaning is paramount for dryer safety and performance. A blocked vent restricts airflow, causing longer drying times, increased energy consumption, and potential fire hazards. Inspect and clean the entire vent system at least annually, or more frequently with heavy use.
Disconnect the dryer from power before cleaning. Detach the vent hose from both the dryer and the wall, and remove any accumulated lint using a vent cleaning kit or a vacuum with a hose attachment.
User Manual Information
The Samsung DV40J3000EW/A2 user manual (DC68-03170N-13_IB_DV3000J_EN.pdf) details key features and operational instructions for optimal dryer usage and performance.
Accessing the User Manual
The official Samsung DV40J3000EW/A2 user manual is readily available online as a PDF document (DC68-03170N-13_IB_DV3000J_EN.pdf).
Samsung Support CA provides direct access to this resource, offering comprehensive guidance on dryer operation, features, and basic troubleshooting steps.
Additionally, various appliance parts websites and forums, like Appliantology, may host or link to this essential documentation for convenient access during repair or maintenance.
Key Features and Operation
The Samsung DV40J3000EW/A2 is a 7.2 cu. ft. electric dryer boasting a moisture sensor for optimized drying cycles.
Understanding its operational features, detailed within the user manual, is vital for diagnosing issues.
Familiarize yourself with cycle selections, control panel functions, and indicator lights to effectively troubleshoot malfunctions and ensure proper dryer performance during repairs.
Resources and Support
For repair assistance, utilize the Appliantology forum and the official Samsung Support website. These platforms offer manuals, diagrams, and expert advice.
Appliantology Forum
The Appliantology forum serves as a valuable resource for technicians seeking Samsung DV40J3000EW/A2 repair information. Discussions cover training materials, service manuals, and troubleshooting tips shared by experienced professionals.
Specifically, the “Samsung DV40J3000 Dryer Training and Service Manuals” thread provides access to BASIC (DV400EWHDWR/AA) and NEW (DV40J3000) model documentation, aiding in efficient diagnostics and repairs.
It’s a “Master Samurai Tech Appliance Repair Dojo” where collaborative problem-solving thrives.
Samsung Support Website
The official Samsung Support CA website offers essential resources for the DV40J3000EW/A2 dryer. Users can download the User Manual (DC68-03170N-13_IB_DV3000J_EN.pdf), providing operational guidance and basic troubleshooting steps.
While direct service manual access may be limited, the site provides software downloads and FAQs addressing common issues. Contacting Samsung support directly can yield further assistance with specific repair inquiries.
The website’s documentation is updated regularly, ensuring access to the latest information.